
English
English


Anzac Bay
3 minutes walkCascades Waterfall
4 minutes walkA flexible Waiheke Island ferry and hop-on hop-off bus tour with wineries, beaches, & scenic stops.
A flexible Waiheke Island ferry and hop-on hop-off bus tour with wineries, beaches, & scenic stops.
Inclusions
Please click here for a detailed route map and its boarding points. You can join the tour at any stop and hop on and off for the duration of your ticket. Western Explorer Route First bus: 10am from Matiatia Ferry Terminal Last bus: 5:20pm from Matiatia Ferry Terminal Frequency: Every 20 minutes Popular stops: Oneroa Village, Cable Bay Vineyard, Onetangi Beach Round-trip ferry transfer Board your Fullers360 Waiheke Walk-up ferry from piers 11 and 12 from Auckland’s Downtown Ferry Terminal. On the way back, ride the Hop-On Hop-Off Bus back to Matiatia Ferry Terminal and catch the Fuller360 Waiheke Walk-up ferry from pier 1. Please click here for a detailed timetable. First ferry: 6am Last ferry: 4pm Frequency: Every 30 minutes


Auckland Ferry Terminal
9 minutes walkBritomart
3 minutes walkSky Tower
3 minutes walkSt Patrick's Cathedral
2 minutes walkAuckland Art Gallery
5 minutes walkCivic Theatre
8 minutes walkWestfield Newmarket
1 minute walkHighwic House
4 minutes walkAuckland War Memorial Museum
3 minutes walkAuckland Domain
3 minutes walkHoly Trinity Cathedral
1 minute walkKinder House
1 minute walkParnell Village
La Cigale French Market
3 minutes walkBastion Point Lookout
Michael Joseph Savage Memorial
SEA LIFE Kelly Tarlton’s Aquarium
Okahu Bay
1 minute walkAuckland War Memorial Museum
3 minutes walkAuckland Domain
3 minutes walkWintergardens
4 minutes walkDuck Pond
2 minutes walkMt Eden Summit
2 minutes walkMt Eden Village
3 minutes walkEden Park
3 minutes walkNixon Park
1 minute walkAuckland Zoo
Meola Reef
6 minutes walkMuseum of Transport and Technology (MOTAT)
6 minutes walkWestern Springs Park
1 minute walkInclusions
Please click here for a detailed route map and its boarding points.
You can join the tour at any stop and hop on and off for the duration of your ticket.
Red Inner Tour
Summer Bonus Blue Tour (Oct to Apr)


5% off
Two essential Auckland experiences in one plan: flexible city sightseeing by bus & scenic harbour views from the water.
Two essential Auckland experiences in one plan: flexible city sightseeing by bus & scenic harbour views from the water.
Inclusions
Auckland Harbour Scenic Sightseeing Cruise
Auckland Hop-On Hop-Off Bus Tour
Auckland Harbour Scenic Sightseeing Cruise
Auckland Hop-On Hop-Off Bus Tour
Auckland Harbour Scenic Sightseeing Cruise
Auckland Hop-On Hop-Off Bus Tour
Auckland Harbour Scenic Sightseeing Cruise
Auckland Hop-On Hop-Off Bus Tour
Red Inner Tour
Summer Bonus Blue Tour (Oct to Apr)
Please click here for a detailed route map and its boarding points.
You can join the tour at any stop and hop on and off for the duration of your ticket.
Mark

Dimple


Barbara
Peter

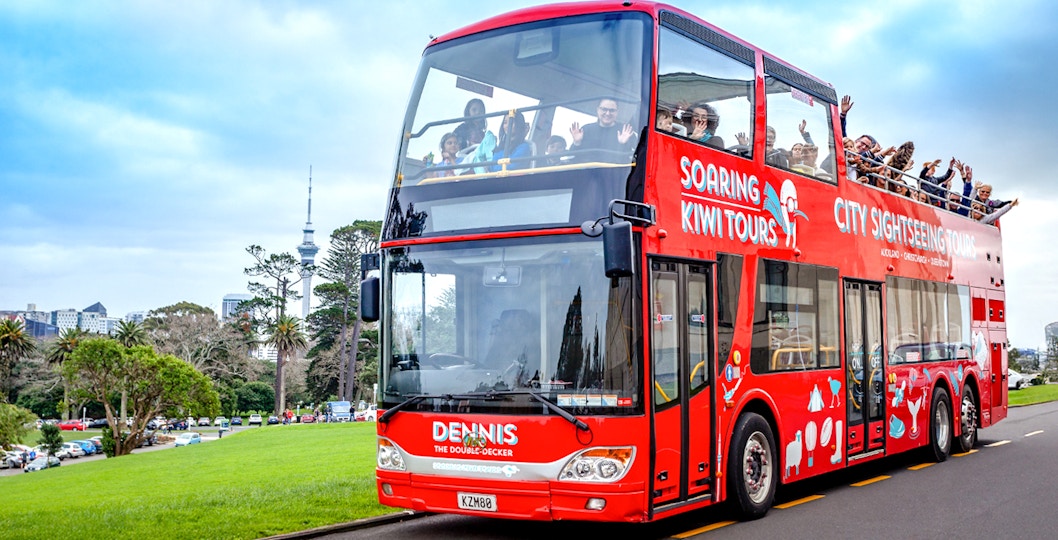
For travelers new to Auckland, hop-on hop-off buses offer a curated, easy-to-follow route covering all major landmarks, without worrying about getting lost or missing connections.

The buses are designed to accommodate groups, making it easy for friends and families of all sizes to explore together.

Solo travelers will find the hop-on hop-off tour a safe, social, and efficient way to explore Auckland independently.

Hop-on Hop-off buses provide incredible, unobstructed views of Auckland’s skyline, waterfront, and landmarks and the flexibility to chase the best natural lighting.

Combining transport and guided commentary into a single ticket, hop-on hop-off bus tours save time and money while offering an enriching travel experience.

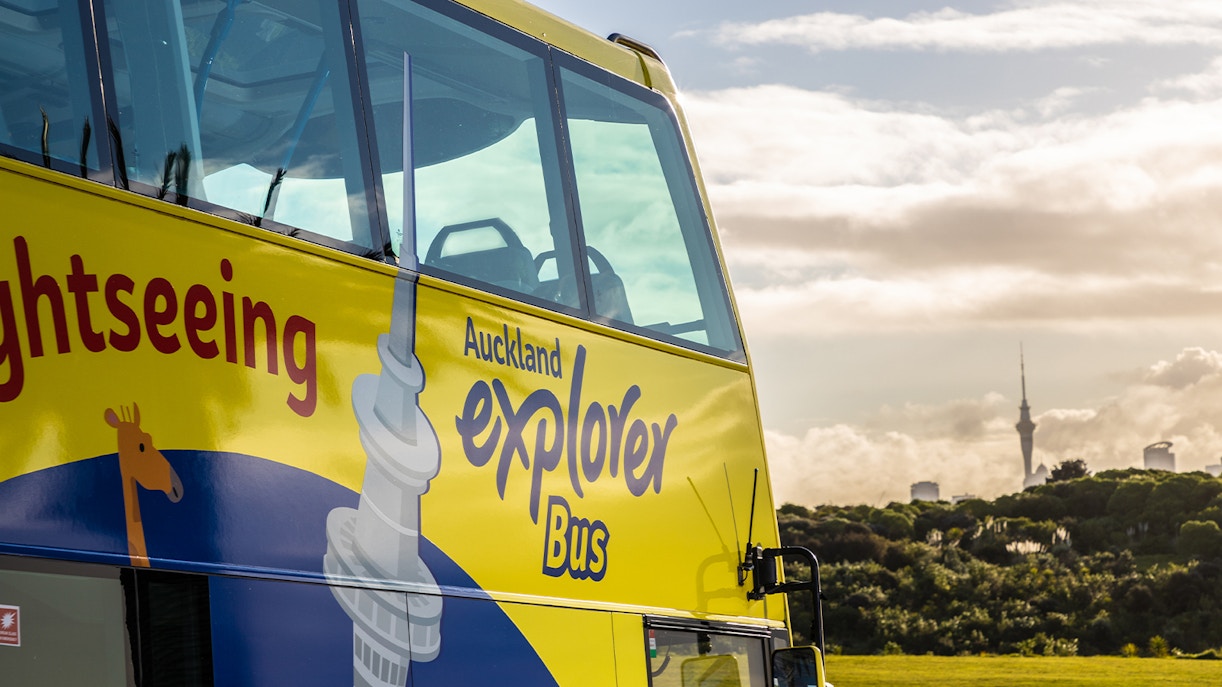
Each tour follows a unique route. Review the routes and stops and pick the tour that covers your must-see attractions.

Purchase your Hop-on Hop-off tickets easily using a credit or debit card.

Receive your ticket voucher instantly in your inbox. If you don’t see it, check your spam or junk folder.

Track the bus in real-time, plan your journey, and explore routes with an interactive map.

Head to any designated stop, redeem your mobile voucher at Stop 1 or 2, and start your adventure!


%20in%20Auckland%2C%20New%20Zealand%20.jpg?auto=format&q=90&fit=crop&crop=faces)
A must-visit for its 360° views from the Sky Tower, world-class dining, entertainment, casino, luxury hotels, and thrilling experiences like the SkyWalk and SkyJump - all in one iconic destination.
The Red Inner Tour takes 70 minutes to complete a full, non-stop loop, while the Blue Outer Tour takes about 50 minutes. Buses depart every 30 minutes.
Yes, the buses are wheelchair accessible.
The buses operate all round the year but are closed on Christmas.
Yes, discounted tickets are available for groups of 15 or more, subject to availability.
Large items like suitcases cannot be accommodated on the bus, but you’re welcome to bring small carry-on items such as handbags or collapsible strollers with you.